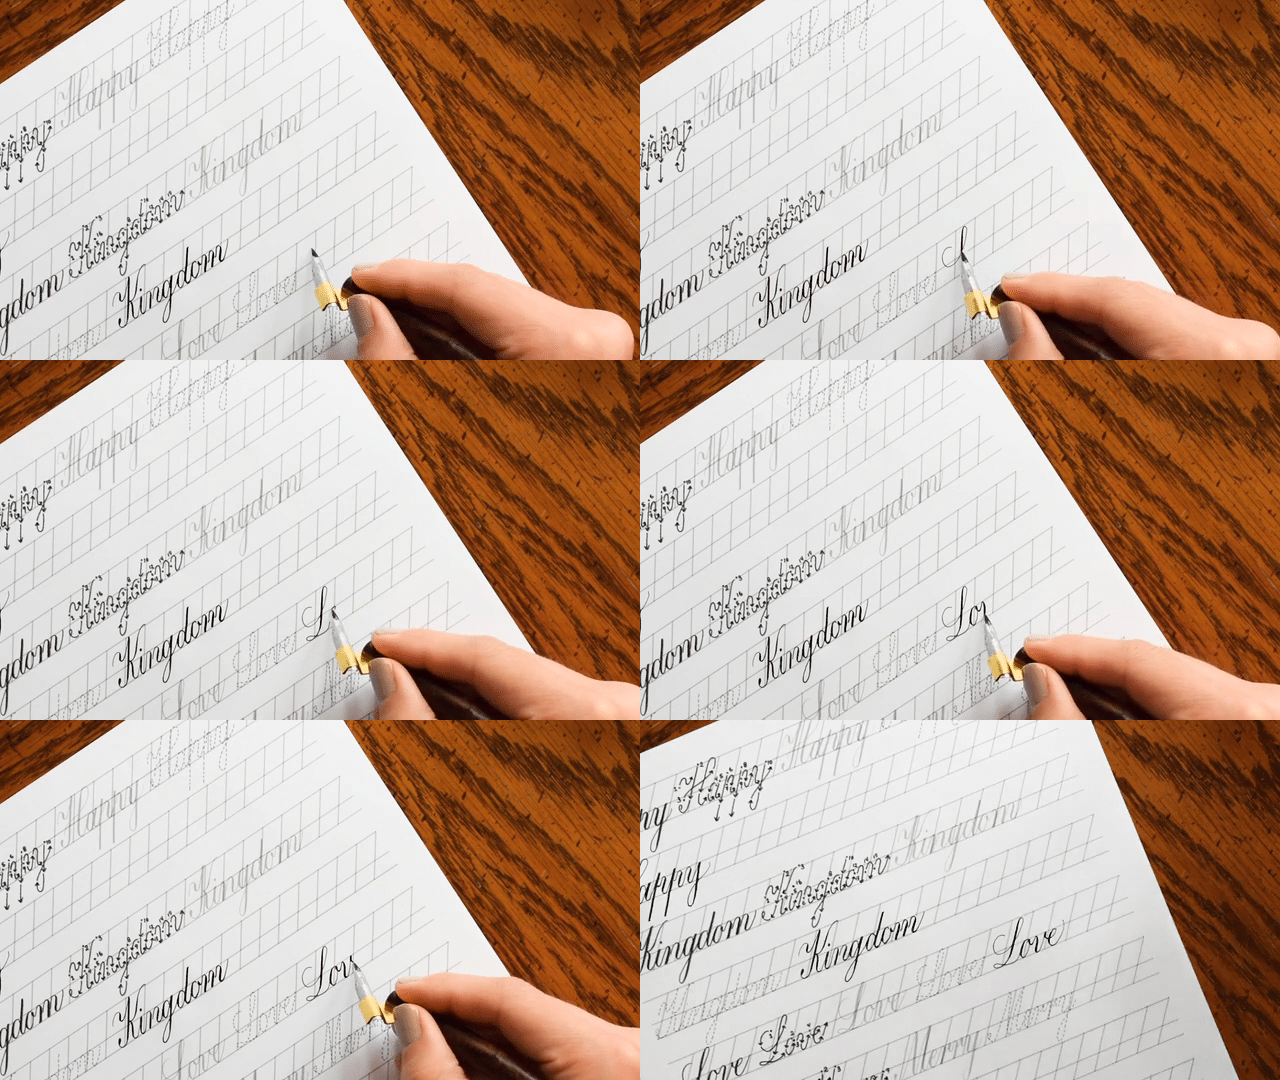
When I first started making the Learn for a Latté worksheets, I never intended to create calligraphy video courses to accompany them. Not only did I lack the equipment to make videos, but my video editing had not been put to the test since seventh grade (when iMovie was in its infancy and blissfully simple to use). However, as the calligraphy worksheet user base grew, I began to receive regular requests for videos to complement the worksheets. To be honest, it made sense and I could relate … I am a visual learner, and YouTube and Vimeo tutorials have taught me everything from how to use the Adobe Creative Suite to how to line a cake pan with parchment paper. I knew it was time to step up my game, so I tried my hand at creating a video course to accompany the Amy Style calligraphy worksheet a few months ago.

After receiving positive feedback about the Amy Style Calligraphy Video Course, I decided to start developing a course to supplement the Kaitlin Style calligraphy worksheet. Kaitlin Style calligraphy is the most popular style on the TPK site, and also the style that I receive the most questions about from learners, so I knew a video course would be very helpful for both current and future worksheet users. I was aiming toward a tentative release date of October 1st, but that deadline took a detour when I realized that the Kaitlin Style Premium Worksheet Set (which I planned on centering the video course around) could benefit from a re-do!

After bringing the Kaitlin Premium Worksheet up to snuff, I was finally able to focus on planning the Kaitlin Style video course. It took many mad-artist-type scribblings in a notebook, video shot re-takes, and a lot more time editing clips in Premiere Pro than I’d like to admit … but all that has culminated in a helpful, cohesive video course. Today, I’m happy to announce that the Kaitlin Style Video Course is hot off the proverbial press and ready for you!

The Kaitlin Style Calligraphy Video Course is designed for efficient and thorough learning. One of the features of the course that I think will benefit you the most is the printable Kaitlin Style Calligraphy Course Outline, which gives you a complete roadmap of the lessons and homework. Most of the homework comes from the Kaitlin worksheet set, which will need to be purchased separately and is required in order to take the course. As you view videos and complete homework, you can check off the boxes in the outline. In this way, you can keep track of how much you have accomplished, and how much more you need to do. I know that check boxes and lists help to keep me motivated and on task, and I’m hoping that this syllabus/list hybrid will help you, too!

In addition to a course outline, there are three mini-worksheets included with the video course. Each worksheet was designed to supplement a specific lesson and encourages you to utilize the skills you gleaned from that lesson. For example, the Slant Practice worksheet will help you to get a hang of your slant before you try out writing letterforms.

The Short Word Practice worksheet corresponds exactly with the words written in the “Short Word Practice” video. I thought it would be helpful for you to be able to see different words being calligraphed, then try out writing the words yourself. There are little tips and tricks you can pick up in the video through the commentary, both about technical things like ink viscosity and style-specific aspects like how one letter connects to the next.

The Identical Letter Pairs worksheet was developed based on feedback from Kaitlin Style worksheet learners. It can be tough to figure out how two identical letters interact with each other; so in the worksheet and the corresponding “Identical Letter Pairs” video, you’ll get the details on how to handle a double letter situation.

Like the Amy Style video course, the Kaitlin style video course is comprised of four lessons (you can see a description of each lesson in the video course product description; there are 13 total videos in the four lessons). Where the Amy Style course includes one video over envelope creation, however, the Kaitlin course has three detailed videos. The first video will teach you how to make a centered envelope using your Kaitlin Style calligraphy skills.

The second video will teach you step-by-step how to make a diagonal envelope; which, as I briefly mentioned in the Envelope Calligraphy Spacing post, translates to less of a math headache than a traditionally centered envelope.

In the third video, you’ll throw convention to the wind and learn how to make a wavy envelope!

I could go on forever about this video course because its production has been my focus for the past few weeks. However, I know you’ve got Halloween candy to eat (and eat it you should!), so I’ll sum up what the worksheet is all about in the following video:
In closing, I hope that you enjoy the Kaitlin Style Calligraphy Video Course; and if you have any questions or feedback for me, please let me know! I really enjoy communication from learners because it helps me to be a better teacher. I also have a small suggestion: take a photo of your work before you start working with the course, and take another photo after you finish. It’s hard to notice progress when it is gradual, and comparing the two photos will show you how much you improved! (I’d love to see your photos, too! Feel free to email them to me at [email protected]; genuinely delighted gushing is guaranteed.)
Thank you very much for reading, and have a good weekend!
Warmly,


