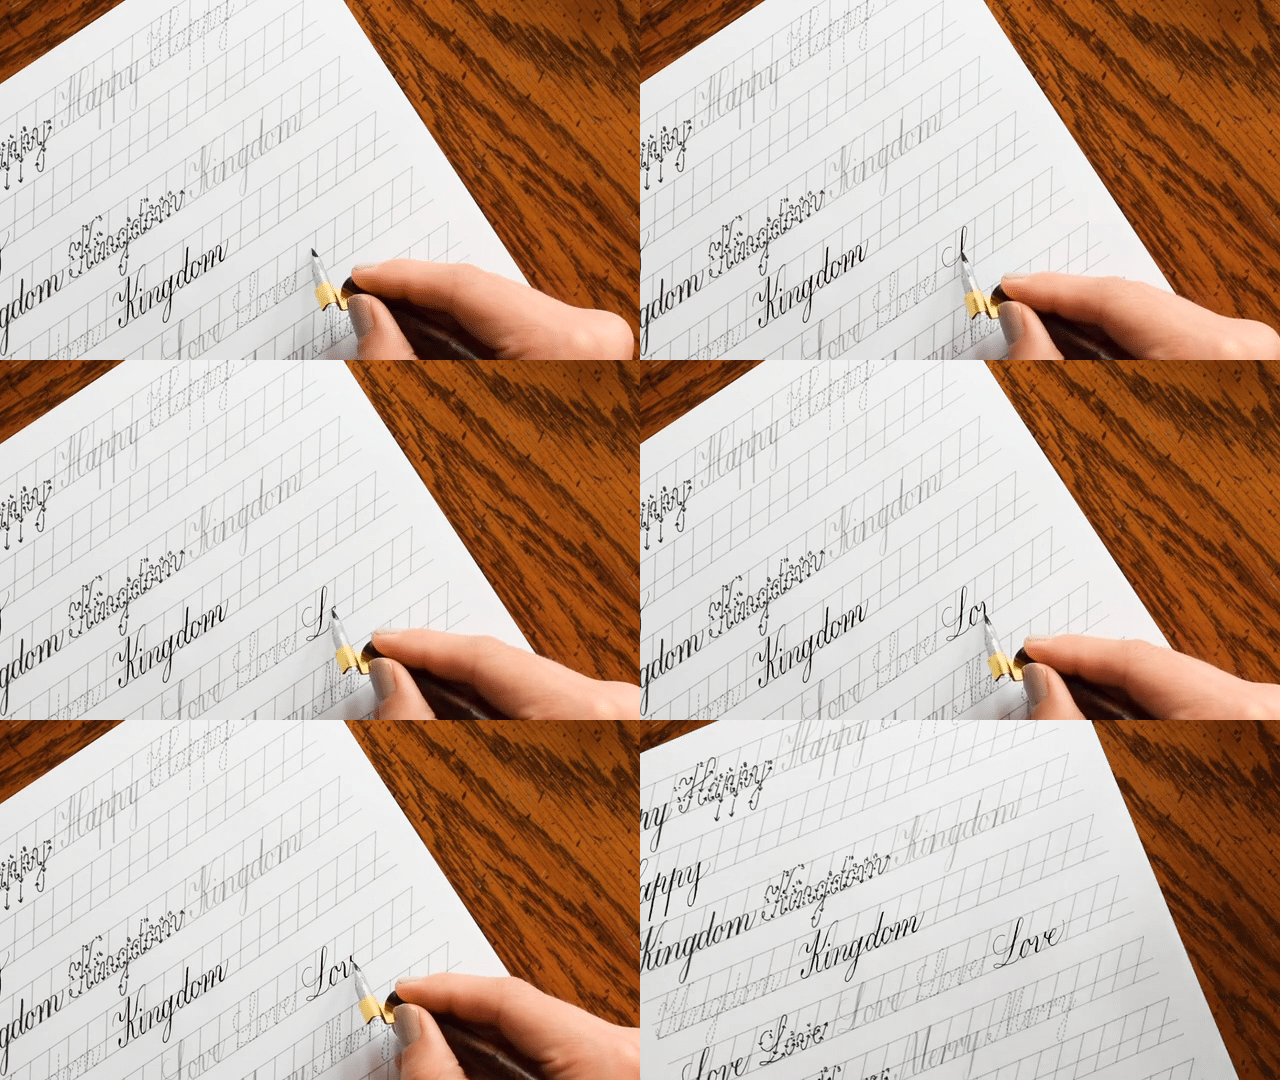
I’ve said it before, and I’ll probably say it again: I’m not a cutesy crafts person. I mean, yeah, when someone sends me a cute card, I’m thrilled; but my personal style favors quirky elegance. Today, I’m sharing with you how I created a personalized birthday card that shows that quirky elegance {with a touch of retro}. The tutorial isn’t really meant for you to follow it to the letter, but my hope is that you’ll be inspired by some of the techniques I used here!
First, I started with a 10″x7″ (25.4cm x 17.78cm) piece of card stock. Really, though, you could use any sturdy paper you have laying around — this is just what I had on hand.
Next, I folded the paper in half, meeting the opposite corners to each other. I then used a metal ruler to apply pressure to where I wanted the fold to be.
Really, I should use a bone folder because it renders smoother results {it’s on the “items that are easy to acquire but for some reason I haven’t purchased” list — you know you’ve got one of these lists, too!}; but this ruler works fine. If you don’t know how to make a clean crease for a fold, I’m going to show you in the gif below. Basically, start at the indentation you made in the middle, then firmly pull your ruler/bone folder down. Then, put your ruler in the middle again, and firmly push it up. That will give you a crisp, commercial-quality fold.
Once you card is folded, put it to the side and grab a piece of paper or card stock that contrasts with the card. Since my card is goldenrod, I’ve chosen teal paper.
Use something round to trace around on top of your new paper. I resourcefully grabbed this bowl from the kitchen, but anything round works, really.
Cut out around where you traced, and fold the resulting circle in half just like you did your original piece of card stock.
Next, give your circle scalloped edges by cutting like I am doing in the photo below. Keep the circle folded as you cut, and your task will be finished twice as fast.
{This is what the whole circle will look like afterwards:}
Center a smaller round object in your circle. I chose a spool of ribbon, but you should feel free to use whatever you have handy!
Then, cut the area you traced.
Cut the resulting circle; you don’t need a guide for this, just try to make sure you’re cutting as parallel as you can to the edge of the circle. You’ll want the area you’re cutting out to be about 1/2″ {~1.25 cm} wide
{Like this:}
Then keep cutting.
Once you’ve cut the circle into more circles, glue the largest circle to the card, like so:
Then, glue down every other circle — I used a glue stick, but you can use whatever you want. You can discard the circles you have left, or use them for another project.
Here’s what the card looks like splayed out:
I was improvising on this card, so I tore out the page of a vintage book and connected some words. Of course you could do this with newspaper, a modern book … whatever! I used a regular gel pen and a white Sakura gellyroll pen to outline the words and draw connecting lines.
Then, I cut the words and glued them to the top right corner.
Next, I decided to add some white calligraphy to my circles that would render this a personalized birthday card. An obvious choice for the words is the “Happy Birthday” song!
If you are seeing this step and going, “No way, I can’t do that,” — well, I beg to differ. If you’re not comfortable with a calligraphy pen yet, use a white gellyroll pen and faux calligraphy.
Now, trace around a small cylindrical object; my glue stick tube was an obvious choice.
Cut two circles out using your cylindrical object as a guide:
And put a dot of glue right in the center of each circle.
Gingerly place your circles at roughly the same spot on either side of the card, near the right edge. You’ll notice I glued a circle of vintage paper in the center of one of my circles. As I was waiting for the glue dots to dry completely, I followed the same circle cutout process outlined above to create a vintage paper cutout that echoes the teal one. I put that cutout in the right corner.
Once you know your glue dots are dry, tease up the edges of both of your small circles. Grab a piece of string or ribbon and put some tape on the end of it, then tuck the taped end under the back circle.
Wrap your ribbon once around the circle in the back, then once around the circle in the front. Voilà — a ribbon closure!
Add a pretty envelope to the mix, and you’ve got a wonderful personalized gift card — not too serious, but not too cutesy, with a lot of handmade flair. {Take it a step further and make your own envelope! Envelope templates are included in The Letter Writer’s Complete Resource.}
{Calligraphy worksheets on the Janet style, shown above, coming soon!}
I hope you enjoyed today’s blog post; it’s just a fun little tutorial that’s meant to be a source of inspiration. Stick around for Saturday, when the giveaway raffle for a 24-piece, $230 Holbein Irodori professional watercolor set begins!
Until then, enjoy the rest of your week! If you do make a card like this, please share on Instagram {@thepostmansknock}! It’s always really cool for me to see the inspiration you get from these tutorials.
XO –
That’s simply awesome. I’m definitely trying that.
I hope you do! It’s a fun tutorial to make! 🙂
great birthday card thanks for this wonderful ideas
You are very welcome! 🙂 Thank you!
I love this! Your tutorials are always so clean and easy to understand, thank you! Out of curiosity, does the post office ever give you any flack on the decorated envelopes? Anna
Hi Anna!
Believe it or not — no! The only piece of mail I have ever had returned since I started embellishing my envelopes was, unfortunately, written in my “regular” handwriting. It was a rent check, and I had decided that day not to waste my time doing mail art on the rent.
Of course, I sent this photo to the landlord, asking frantically: “Has the address I’m supposed to send our check to changed?!” And he responded that it hadn’t, but could I please go back to using calligraphy on the rent check envelopes because he likes it, and the post office seems to as well. 🙂 I think sometimes the post office gets a bad rap, but they’ve never disappointed me as far as snail mail {knock on wood}. Now, Priority packages with printed labels on them … well, that’s another story. Though, I will say I have never had a USPS insurance claim denied.
I can’t get over how inspiring and beautiful your work is!! This is wonderful!
Thank you! My friend really liked it, so that was good. 😉 I used the remaining teal circle cutouts on a handmade envelope, which made for a pretty cool effect! Definitely worth the minimal time commitment and effort to make a card like this.
This is not a card, it is a work of art, with a capital A!! The amount of time and creativity that you put into each project reflects in the beautiful results. Again, thank you for sharing a portion of your talents. You know how much I love your work.
Thanks, Grandma. 😉 All of our watercolor and drawing sessions when I was a little girl resulted in this entire website … so thank you!
Lindsey, I have read your posts for sometime but ever left a comment because I am not an artist. Yes I have watercolors. Expensive and cheap. Inktense watercolor pencils, regular watercolor pencils. Acrylics. I never painted a complete picture until I saw your tutorial. It wasn’t great but I felt good. Then today, when I saw your post and read what Jessica had to say about watercolors, I was blown away. She is a goldmine and I’m so glad you found her and introduced her. A wealth of information that made me want to learn to watercolor. Really learn. Thank you so much. I love doing your tutorials. Those I can do!
You did it again! Another great tutorial with loads of inspiration! I can’t wait for Saturday and the giveaway!
Be Well,
The Lady Kay
Thank you! I’m really glad this inspired you (and that, much to my appreciation, you took the time to say so)! And I agree — I can’t wait for the giveaway either! It ends on November 11th, so there’s a brief window of time in which to enter … I’m so excited to hear who wins. 🙂
You never cease to enchant me. I have sent two good artists to your blog, they LOVE IT.
Well that is a very nice compliment coming from such a talented artist! I still have my Jan original painting hanging on the wall right here for inspiration; it helps me to power through creative block every day! 🙂
I have been reading your blog and each of your posts for quite a time now, and never dare to post a comment. But today, I have to congratulate your creativity and your talent!
I am always searching for a unique, original and yet handmade birthday card for my friends, and with the years, I lacked of ideas, but your tutorial is a great idea. It is absolutely perfect, simple and elegant.
Thank you so much Lindsey, for all your wonderful work, and most of all, for sharing it !
I am always looking for ways to make original cards, too! While Pinterest is usually a great resource for art/project inspiration, I find that most of the card ideas on there are a little bit “cutesy” for my taste. I like making cards that have a little bit of quirk and a dash of elegance as well. 🙂 This was a light, breezy tutorial — and it’s wonderful to get feedback that you liked it {and that it may be useful}! Always feel free to comment … it is an awesome feeling too know that someone has enjoyed a blog post, and you made my morning with your nice words!
GAH! This is amazing! I can’t even…. I just love the care and creativity that went into this card. I’m always in awe. This is an off-topic question, but have you ever dabbled in etegami? With all the watercoloring you’ve featured so far, I would love to see/know if you have ever produced an etegami. I just started an etegami-ish postcard today and created my first watercolor image EVER. I’m pretty pleased with the results, considering it’s my first attempt. I never would have mustered the courage to try this without seeing your blog posts and the recent guest post by Greenleaf & Blueberry. So, thank you! BTW, I’m loving that walnut ink! 😉
I haven’t! I hadn’t even seen etegami until you mentioned it … but this is a great video that I found over etegami that taught me about it in 20 minutes. What a cool technique! I’ll definitely give it a shot. And it’s my pleasure! I really love the guest post by Greenleaf & Blueberry. I don’t think I’ve learned as much reading something since college. 🙂 I’m loving the walnut ink, too! I purchased the Daniel Smith brand at my local art store, but I saw that Paper and Ink Arts has some. Definitely worth the small investment … it’s beautiful!
Did you use walnut ink for the envelope? I really like the look!
I did! Walnut ink is only, like, my new most favorite thing ever. My love for it is currently rivaled only by my love for chocolate. If you don’t have any, definitely grab some! I believe it’s on Paper and Ink Arts for a very reasonable price. 🙂